

When you have to patch up a wall, how much time and effort it takes depends mainly on the size of the hole. A nail hole can be filled in just a few minutes with some Spakfilla. If the hole is larger than 50mm, you will need a rigid backing before applying compound, or the repair will eventually crack or sink into the wall cavity. Above 50mm, it is best to hand the job to a handyman, because most DIY repairs at that size come undone at a rental inspection due to the touch-up painting required.
How Size Affects the Method
Most residential walls in Australia are plasterboard. Gyprock is the most common brand. Standard residential sheets are 10mm or 13mm thick, fixed to a timber stud frame or directly to masonry. The face paper and gypsum core have very little structural strength, so once a hole is bigger than a nail prick, you will need to bridge that gap before applying filler.
Before performing any repair, tap the wall around the damage with your knuckle. A hollow sound means plasterboard. A solid thud means masonry or hard plaster, which is common in homes built before the mid-1960s and requires a different approach covered further below. A soft, drummy sound around the edges of the damage means the plasterboard or hard plaster has separated from its backing. A surface patch will not fix this, and that section will need to be removed.
Urgent Pro’s handyman service connects you with local independent providers who will carry out wall repairs for a written quote, including paint matching in their scope, for any repair from a small stuck screw to a full panel replacement.
For picture hook holes specifically, where the rental inspection standard is a separate question from general wall damage, the guide to fixing picture hook holes before moving out covers the right approach and what agents actually check.
The following table outlines the applicable repair technique based on the size of the hole.
| Hole Size | Repair Method | DIY Realistic? | Typical Elapsed Time |
|---|---|---|---|
| Up to 3mm (small nails, small screws) | Spakfilla or pre-mixed filler | Yes | 1 to 2 hours |
| 3mm to 50mm | Self-adhesive mesh patch, compound, feathering | Yes, but takes patience | 1 to 2 days |
| 50mm to 150mm | Plasterboard off-cut, rigid backing strips, jointing tape, compound | Possible, but handyman recommended | 2 to 3 days |
| 150mm and over | Backing strips screwed inside cavity, new panel, full jointing system | Handyman is the better call | 2 to 3 days |
| Hard plaster (older homes) | Several layers of base plaster, topping compound | Best left to a tradesperson | 2 to 3 days |
What to Use for Nail Holes and Small Marks: What Works and What Leaves a Lump
Small holes up to about 3mm should be filled with pre-mixed Spakfilla or lightweight jointing compound. Clean the area first and push any raised plaster edge flat with the back of the putty knife. Apply the filler, overfill slightly, and let it dry completely. Sand it flat when dry.
The most common mistakes are under-filling, which creates a concave dimple, or not sanding enough, which leaves a raised lump. Both will show under paint. Run a straight edge across the patch before priming. If the edge rocks, the patch is high. If light shows under the edge, the patch is low.
When filling deep screw holes, you will most likely need a second coat, because all fillers shrink slightly as they dry. Fill, let it dry, check, and if needed, apply a second thin coat and sand again.
One step that is usually skipped is priming the area before the final colour is painted. The filler draws paint in at a higher rate than the surrounding wall. Flashing is the visible result of a preparation failure, not a failure of the paint itself.
Depending on your state, you may be required to repair small nail holes at the end of a tenancy. The position is not consistent across states. Before deciding whether to repair or simply disclose, check with your state authority. How different types of holes are treated is covered in detail in wall marks and fair wear and tear.
Small Holes 50mm and Under
For holes from about 3mm up to 50mm, where you can see the wall cavity through the opening, use a self-adhesive mesh or aluminium patch to bridge the gap before applying compound. These patches are available at most hardware stores; Gyprock makes a range for the Australian market. The metal plate must extend past the outer edge of the hole, not just cover it flush.
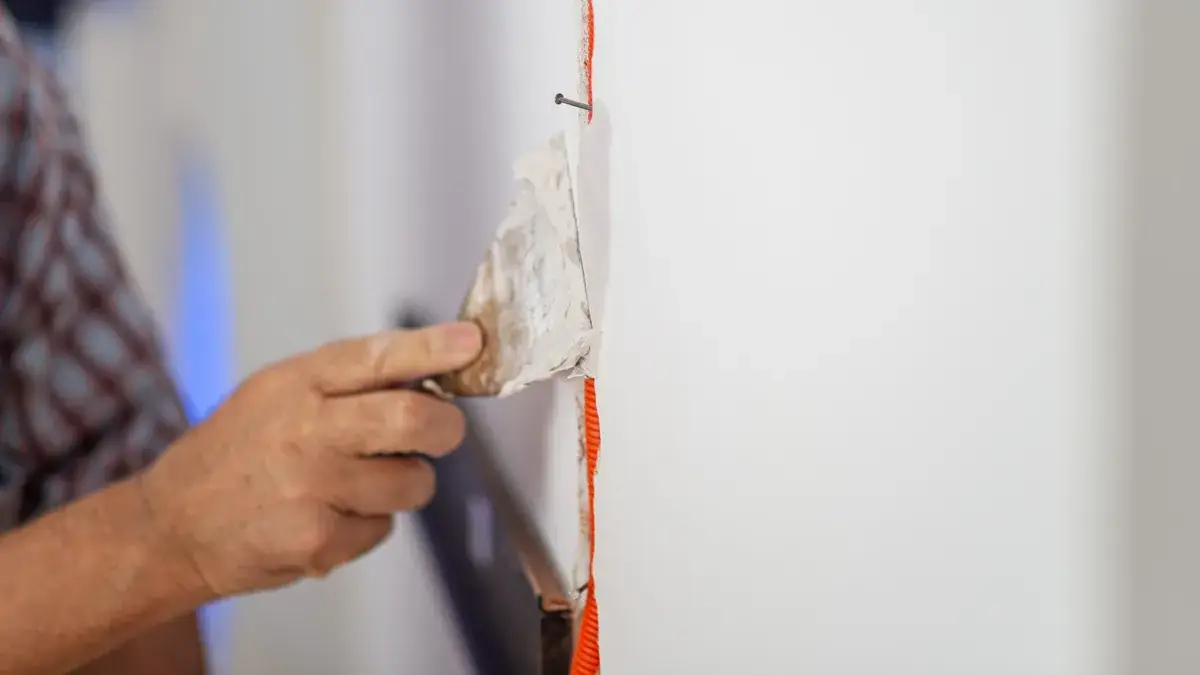
Feathering is what stops the repair from reading as a raised ring after painting. Spread the compound at least 50mm beyond the edge of the patch on the first coat. With each subsequent coat, extend the area a further 50 to 100mm beyond the previous one. The aim is a transition so gradual that you cannot feel where the patch ends when you run a hand across the wall. Apply a minimum of three coats, letting each one dry completely before the next.
One additional tip for areas next to skirting boards, window frames and door architraves: do not use rigid filler in these joints. The building expands and contracts with temperature changes, and rigid filler will crack back out within months. Use a paintable acrylic sealant for any gap where two surfaces meet.
For a clear picture of which repairs fall within a tenant’s own scope, the guide to repairs tenants can legally do themselves sets this out state by state.
Holes between about 50mm and 150mm are too large for a self-adhesive mesh patch to support compound across the span without sagging. For holes of this size, a rigid backing is required.
Cut two lengths of timber batten or plasterboard off-cut slightly wider than the hole and push one diagonally through the opening, then repeat for the second piece. Press the pieces flat against the back of the wall face and hold them in place with screws driven through the existing plasterboard on either side of the hole. This gives you a firm surface to work against.
Cut a plasterboard patch to fit the hole, fasten it to the backing strips, and confirm it sits flush with the surrounding wall before touching the compound. A 1mm height difference telegraphs through multiple coats of compound as a raised ridge. Tape the edges with paper jointing tape, apply three coats of compound with feathering on each, sand smooth, and prime before painting.
As covered in the guide to repairs that cost tenants their bond, holes in the 50mm to 150mm range are the ones that most often push a borderline inspection into a formal bond claim.
Large Holes and Fist-Sized Damage: Why DIY Usually Shows at Inspection
Holes that are 150mm and larger mean you are replacing a significant section of plasterboard. You still use the backing strips, but you also need to ensure that all four edges of the new panel are flush with the surrounding surface before you start jointing.
The larger area that requires feathering increases the margin for error. Irregularities can show up under primer, particularly on walls that have had years of normal wear. The step most DIY repairs get wrong at this scale is texture: fresh compound and primer have a different surface feel from surrounding paint that has been cleaned and abraded over time.
Check for cables and pipes before cutting into any wall. A stud finder with cable detection is cheap insurance. Near a power point, light switch or wet area, stop entirely and get an electrician to confirm the wall is clear before cutting. Striking a cable is a safety risk.
Hard Plaster in Older Homes: A Different Problem
Homes built before the mid-1960s across Australia were typically built with hard plaster: solid plaster applied over timber lath or directly onto masonry. The techniques described above work for small surface repairs, but there is one key difference for anything deeper.
Lightweight fillers and pre-mixed jointing compounds, when applied thick in a hard-plaster wall, shrink and crack as they cure. Where the damage goes deeper than about 10mm, build the depth back with a setting-type base-coat plaster in layers, allow each layer to dry, then finish with a fine topping compound sanded smooth.
Tap the wall around the damage before starting. A hollow, drummy sound around the edges means the hard plaster has separated from its backing and a surface patch will fail. If there is damage near period cornices, picture rails or heritage features, it is best to bring in a tradesperson.
The Paint-Matching Problem Nobody Talks About
This is the most difficult part of a wall repair for most people, and most guides skip it entirely.
A wall repainted with the same paint used three or more years earlier will show differences. Over time, the surrounding paint fades slightly from UV exposure, picks up a different surface texture from everyday cleaning and minor abrasion, and shifts in sheen. The patched area, with its fresh primer and topcoat, sits at a different level across all three. Painters call the visible result flashing.
This is not a paint quality issue. Surface texture is the main cause of touch-up problems, with sheen mismatch second, and these differences exist regardless of how carefully the colour is matched.
A patched plasterboard area needs full surface treatment: a sealer or undercoat, then two top coats. Flashing can occur if just one top coat is applied over dried compound.
The accepted practical solution is to paint to a natural break point: an internal corner, a wall edge, or a door architrave. The eye accepts a colour transition at a defined line. It does not accept a circular break in the middle of an aged wall. Properties with dark or saturated colours make painting corner to corner on the affected wall almost mandatory. If the original paint tin is unavailable, a chip from an inconspicuous area (inside a wardrobe door works well) can be colour-matched at a paint supplier, but note that a matched batch may still differ in sheen from the aged original.
Will a Patch Pass a Final Inspection?
During a final property inspection, an agent is unlikely to inspect with a raking light held at a low angle, which can reveal imperfections even in a professionally installed new wall. A well-executed patch, primed and painted to a break point, will generally pass a standard visual inspection in ordinary lighting.
The entry condition report serves as the baseline for comparison at the end of the tenancy. Repair work done to a high standard will generally not be flagged. What agents look for is whether the wall is in broadly similar condition to what was recorded at the start.
The repair quality question and the bond question are separate.
In NSW, NSW Fair Trading’s wear and damage guidance treats paint worn off a wall near a light switch as fair wear and tear, and damage from poster adhesive as damage.
In Queensland, the position is stricter. The Queensland RTA’s fair wear and tear guidance specifically classifies plaster chipped by nails being hammered in as careless or negligent damage. QLD tenants face a higher bar when disputing nail hole claims than their NSW counterparts.
In WA, Consumer Protection lists chunks of paint or plaster missing as tenant damage, and faded, cracked or chipped paint as wear. In Victoria, the general principle applies: minor scuffs and marks are fair wear and tear, and larger holes are damage. In Pettit v Ardern [2013] NSWCTTT 532, the Consumer, Trader and Tenancy Tribunal held that holes and dents in walls went beyond fair wear and tear, although the landlord’s claim failed because no invoice was produced. Tribunal decisions are a guide, not binding.
When to Book a Handyman
As a general guide, holes larger than 50mm, or surrounding paint that cannot be reliably colour-matched, warrant a professional repair. The same applies if the property is approaching a final inspection and there is any doubt about the finish quality. A professional repair often costs less than a bond deduction for a visible failed patch, so it is worth getting a written quote before the inspection.
Independent providers on the Urgent Pro network carry out plasterboard patching as a standard handyman job, priced from $220. Repairs that include painting to a break point, or that cover multiple holes across a property, will be quoted at a higher rate depending on the area to be painted and whether paint is supplied by the provider or by you. Always ask for a written quote that specifies the scope.
Plasterboard patching is covered by the Tier 2 warranty of Urgent Pro services, which means the repair carries a 14-day warranty from the date of completion. The full scope of the warranty and the claims process are outlined in the warranty terms for plasterboard patching.
For a breakdown of the variables that affect the final cost, see how handyman prices are set.
FAQs
What is the best way to fix a small hole in a wall?
Small holes up to about 3mm can be filled with pre-mixed Spakfilla or lightweight jointing compound using a putty knife. Overfill the hole, let it dry, then sand flat. Apply a primer coat before repainting. Skipping the primer is the most common reason the patch stays visible after painting, a result painters call flashing.
How can I repair a large hole in a plasterboard wall?
Holes wider than 50mm require backing, and a handyman is the safer choice at that size. Push timber batten lengths through the hole and screw them firmly against the back of the wall face. Cut a plasterboard patch to fit the hole, fasten it to the battens, and confirm it sits flush with the surrounding surface. Tape every edge with paper jointing tape, apply three coats of compound with feathering on each, sand flat, prime and paint to a natural break point such as a corner or architrave.
Will a patch pass a final inspection?
A properly executed patch, primed and painted to a natural break point, will generally pass a standard visual inspection in ordinary lighting. The most common failure point is paint flashing: fresh paint on an aged wall looks different in sheen and texture, and the patch remains visible even when the compound itself is flat and flush.
How much does a handyman charge to fix a hole?
Independent providers on the Urgent Pro network price plasterboard patching from $220 for a standard single-task job. Repairs that include painting to a break point, or that cover multiple holes in the same property, will be quoted at a higher rate based on the area to be painted and the scope of work. Ask for a written quote that specifies what is included.
Is a hole in a rental wall fair wear and tear?
It depends on the state and the size of the hole. In QLD, the RTA classifies plaster chipped by nails being hammered in as careless or negligent damage. In WA, Consumer Protection lists chunks of paint or plaster missing as tenant damage, and faded, cracked or chipped paint as wear. Large holes from accidental impact or anchors pulling out are generally treated as damage. Check your state regulator’s guidance and your entry condition report.
What is paint flashing and how do you avoid it?
Flashing is the visible difference in sheen and texture between a freshly painted patch and the surrounding aged wall. It is a well-known problem with touch-up painting, with surface texture and sheen differences as the primary causes. The practical fix is to paint to a natural break point, corner to corner on the affected wall, rather than touching up only the patch area.